
2020 has been a year of working from home. Ok, it’s been a year of a lot of things, most of them not great. But one of those things has been working from home, and that’s come in for mixed reviews.
As someone who’s worked from home for nearly a decade, I’ve watched people’s reactions to this change with interest, bemusement, and a bit of embarrassment. If something this natural to me has thrown off so many other people, what does that say about my taste?
Working from home also means recording podcasts from home. As with the other aspects of working from home, podcasting is doable but requires adjustments. Podcasters have to master their home studio, but also the variable of having a conversation with someone who is not in the room with them – no body language to cue in to, no recording console to manage everyone’s volume levels.
Having worked from home for nearly a decade, I’ve also been recording podcasts from home for the past few years. While I don’t have everything perfect or on par with live radio studio, I have learned a few tricks to the process that are key to success.
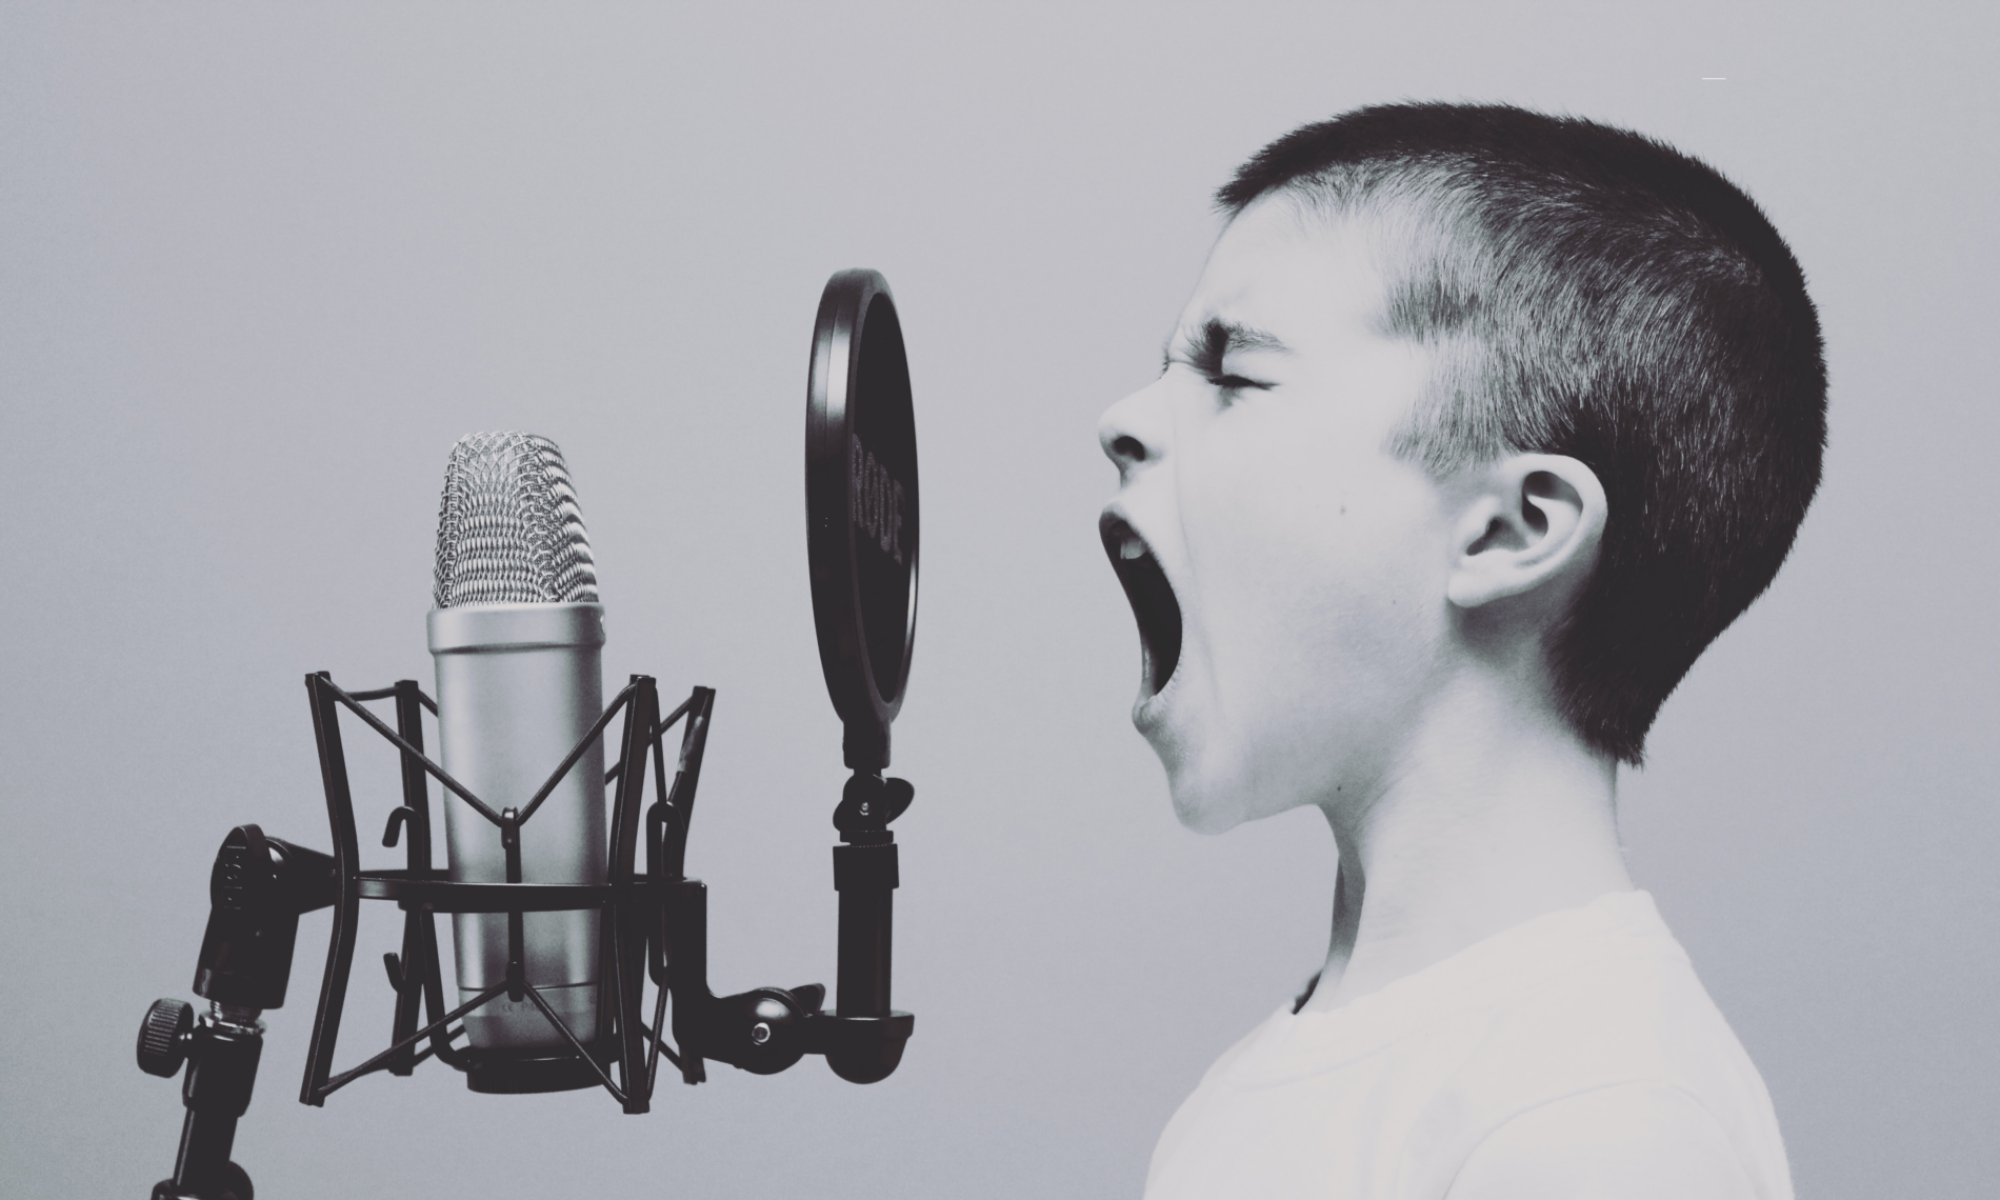
The Importance of Getting Your Sound Right
When I started podcasting, someone with more experience in the field gave me a great piece of advice: “As long as the host sounds clear and solid, listeners will be able to adjust to a guest’s sound more easily.” We’ll talk about maintaining good sound with your guests, but it’s of utmost importance that you control your own sound. That means having the right equipment, making sure there’s not too much noise in your surroundings, having a good internet connection, and more. I covered potential recording errors more in detail in this post, so refresh on the topic there.
Find the right recording software
Recording a conversation with someone who is not in the same physical location is not an easy task, but fortunately there are many programs that simplify it. I have used several over the years trying to get the right sound. The challenges and variables to watch out for include:
- Audio drift – the possibility that your guest’s recording will get out of sync with your recording due to varying computer speeds
- Glitchy connections – if the voice over internet protocol (VOIP) aspect of the software isn’t good, the call can get robotic or the line can just drop
- Storage – Most software programs allow you to record on the cloud, but you want to make sure you have secure access to the recording
- File type – Different programs record different types of files. While it’s relatively easy to convert files from one type to the other online, the more conversions you make the more you run the risk of the audio deteriorating. Ideally, you can record in mp3, m4a, or wav for easy conversion or editing.
- Video – I’ll discuss the value or challenge of having video for recording, but it’s certainly a variable that affects both the internet connection quality and the connection you have with your guest or co-host.
As I mentioned, I’ve used several programs over the year. For a free service, I recommend Zencaster. It allows you to record your guest or co-host on a separate track, there is separate back-up recording, and it’s a good audio quality. There is some risk of audio drift, and I found the VOIP quality to be lacking to the point where I would prepare guests to refresh the screen if things cut off. But it was a mostly effective recording platform. I am curious to see what their video recording feature is like (currently in beta), and with the onset of the pandemic, the company has removed any restrictions on number of guests you can have or recording volume in a month.
I currently use Zoom, which you’re likely familiar with. While the videoconferencing software has had some security concerns – many of them since resolved – I ultimately find the call quality to be the most consistent of any of the alternatives I’ve tried, and the audio quality to be more than satisfactory. There are a few tricks to maximize the quality, including recording on your computer to get separate tracks and turning on original sound. The cost is $15/month on the PRO plan, and there’s a possibility of upgrading to also get transcripts. The ability to see my co-host or guest is also a plus, as it makes it easier to go back and forth, and it makes it possible to easily produce videos of the conversation too, if that’s of interest.
(One small thing about Zoom – try to avoid muting anybody, including yourself, from the program. I believe this leads to Zoom not recording that person while they’re muted, which means their track gets out of sync with the others. We’ll mention the importance of recording on separate tracks which mitigates most of the need for muting anyway, but if you need to mute, try to do so by muting your microphone hardware itself, rather than doing so in Zoom).
Prepare for your podcast beforehand
It’s always a good idea to prepare for a podcast before you start recording, but this especially is the case before recording remotely. With a co-host, this could mean working out an outline and a plan of attack for a given episode. With a guest, sending questions or talking points in advance is a great idea.
Even once the call starts but before you start recording, it’s good to check in with the guest or co-host. That allows you to make sure everyone sounds good. You can also refresh on what you plan to discuss, check if your guest has any time limits to their availability, and prep them for how you end the podcast – usually, I will sign off with my guest or co-host, stop the recording, but continue the call so we can debrief.
Give Your Guests/Co-Hosts Space To Talk
One of the biggest differences between online recording and in-person recording is that lack of body language I mentioned above. Video helps to a degree, but it’s still harder to read a person through a screen than it is across the room.
This matters for the flow of a conversation, where you may not know when a person has finished their piece and when they want to keep going. So as a rule of thumb, give the person space to finish their thought – wait a couple seconds before following up with your next comment or idea. And prepare your guest or co-host for this possibility.
The nice thing about recording podcasts is that you can always go back and edit to remove unnatural pauses. But building these spaces into the conversation gives you more margin for error to make those edits, and also allows your interlocutors time to develop their arguments or ideas fully.
We record The Razor’s Edge without video. Our most recent guest was Rahul Vohra, the founder/CEO of Superhuman, and he’s been on several podcasts before. That experience showed, as he adapted without question to the no video format and had no trouble pausing and flowing in our conversation.
There was a bit of interruption on all parts, and it is both ok and natural to interrupt other speakers on your podcast if you have a point to make or want to interject from time to time. Which is what makes the next point especially important…
Record On Separate Tracks
Whether using Zencaster, Zoom, or a software program that does not begin with a Z, make sure you are recording each speaker on a separate track. In Zoom you want to go to your settings and then recording, and make sure to record a separate audio file for each participant who speaks.

You also need to record to your computer rather than to the cloud – the cloud won’t enable multi-track recording, at least last I checked.
Why is this so important? First, it allows you to edit in post-production and control for the ambient noise on each person’s end, without unduly affecting someone else’s track. It also allows you to take out, say, a phone ringing on your track while your guest is speaking (much harder to do if it happens while you’re speaking, but that’s why we had the recording rules at the beginning). And as far as interrupting goes, some interruptions don’t actually need to stay on the final version. So again, multi-track recording enables a much finer final product.
As a sub-item here, it can be a good idea to record your track separately on a desktop software (Audacity or GarageBand, for example), and to ask your guests to do the same. While I prefer to edit off the Zoom versions because those are locked in place with one another, and Zoom provides as good latency as any call service, there will be the occasional robotic moment where your guest or co-host’s voice sounds unnatural. If they are recording on their end and backing up the audio, you can use that back-up audio to smooth out the conversation.
Don’t Be Shy To Produce While On The Call
One last bit of advice is to be proactive during the recording. If your guest or co-host doesn’t sound clear at the beginning of the podcast, tell them. If their volume suddenly drops, interrupt to ask them to repeat themselves after they fix the sound. If they make a point poorly or you want them to flesh something out, jump in.
With post-production editing, you can remove the ‘first attempts’ as much as needed. And while sometimes asking someone to explain what they mean is naturally part of a conversation, there are other times where the second version is just better. The same goes for audio – as ‘natural’ as I like conversational podcasts to sound, for example, the listener won’t necessarily know or need to know if you had to take two tries at something because a dog started barking, and all things being equal they’d rather not hear the dog anyway.
***
These tips reflect things I’ve learned over the past few years, and I am sure there are many more techniques left to learn. Some of these items are common sense, and some apply to in-person recording as well (which, hopefully, will become a regular thing again before too long!). And there are things that can be corrected after the fact in the editing process, or by re-recording bits.
A common theme in my posts, though, is that while you can do a lot to dress up a conversation after recording through the editing process – or you can turn to a service like ours for help – it’s really important to get the recording itself right. As you bring on guests you respect and admire in your field, you want to make sure you respect their time, which means getting the recording right and avoiding the need to repeat. That’s why getting the techniques of remote recording down are so important. And fortunately, they’re not that hard to do with a little practice and, hopefully, learning from people who have already made their own mistakes for you.
Anything I missed? Let me know below or get in touch here.